
| How To | 1/10/2020 |
How I built a Track Bar Panhard Bar for my 2014 GM Chevy 3500 Motorhome chassis
I always wondered if the tail of the motorhome really (changed the direction of the motorhomes travel(tail wagging the dog).
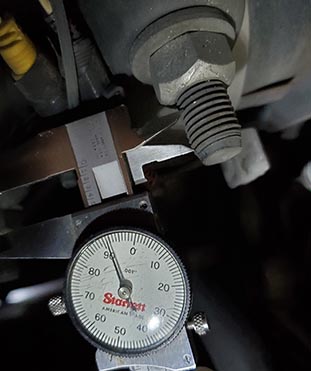
Looking at the wear on the frame rails from the bolts on the leaf springs, I could see that the rear axle was moving side to side over 1-1/4". If the axle was moving this much from side winds or passing trucks, with this pressure and the leaning of the motorhome,
the rear axle had to be twisting and not staying parallel to the front wheels, making the motorhome change direction when pushed by a side wind.
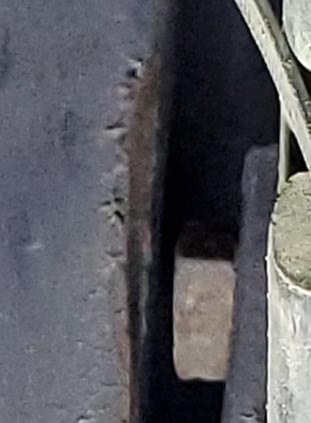
The Driver side of the frame is scraped up pretty good, but the passenger side is worn into the mount of RV Chassis where it is welded to the frame.
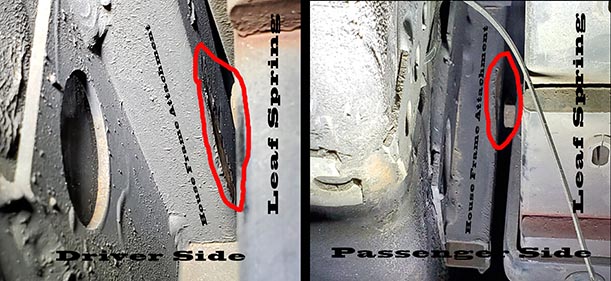
The mount is worn about 3/16" deep by about 1-1/2" tall.
Time to build a track Bar or Panhard Bar. The same Bar goes by two different names. Not sure why.
Making the mounts to connect each end of the track bar to the axle and frame.
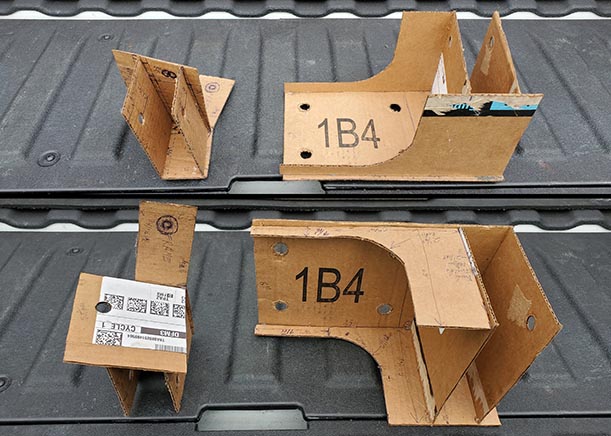
I made cardboard templets for each mount. I worte the dimensions on the cardboard pieces as I cut them out. I then hot glued the cardboard pieces together. Next I mounted the completed cardboard pieces to the frame and axle to check the fit.
Next, I drew the eight pieces for the axle mount and four pieces of the frame mount in Solidworks, exported them as DXF files.
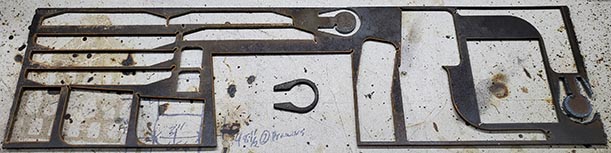
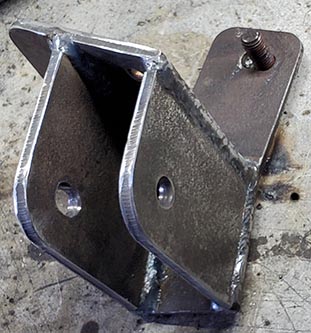
I then cut all the pieces out of 1/4" plate steel on my CNC plasma cutter.
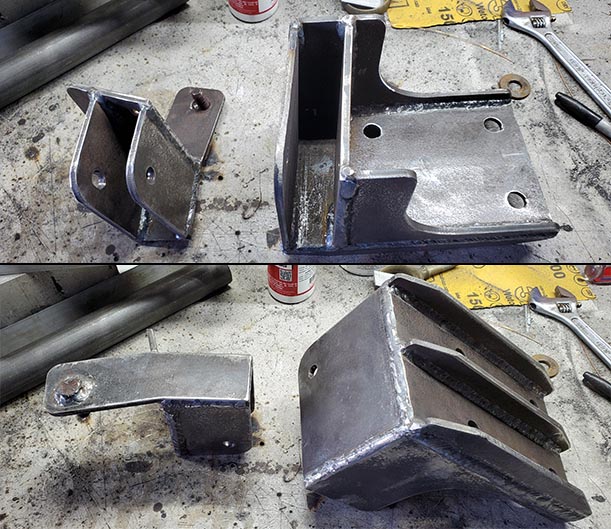
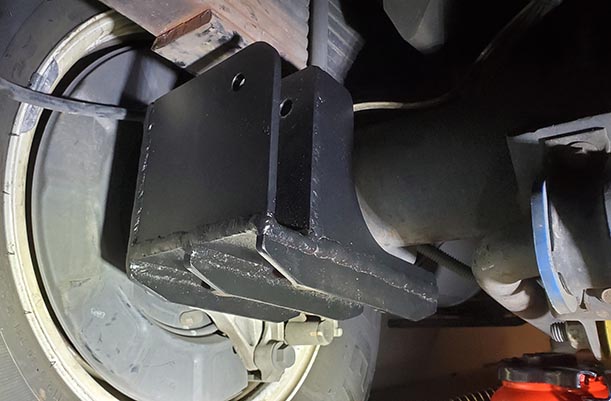
I then tacked the cut out pieces together, checked the fit on the motorhome, and then finished welding them together.
I test fit the welded frame and Axle mount. I measured between the track bar mounting holes to get the length for the track panhard bar. I then removed the mounts and powder coated both of them.
Mounting the Axle end.
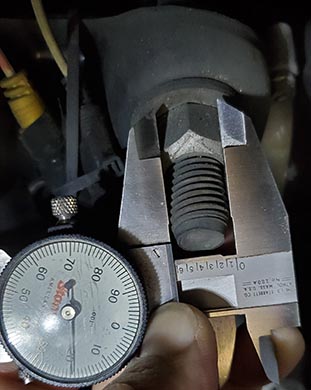
I measured the diameter and pitch of the threads on the axle leaf spring u-bolts.
I mounted the Axle end mount to the driver side leaf spring axle bolts with shoulder locking nuts.
Mounting the Frame end.
Before I powder coated the frame mount, I welded a 1-1/2" long 1/2" bolt in the side mounting hole so I would only have to reach in the frame to install a heavy washer and 1/2" nyloc nut.
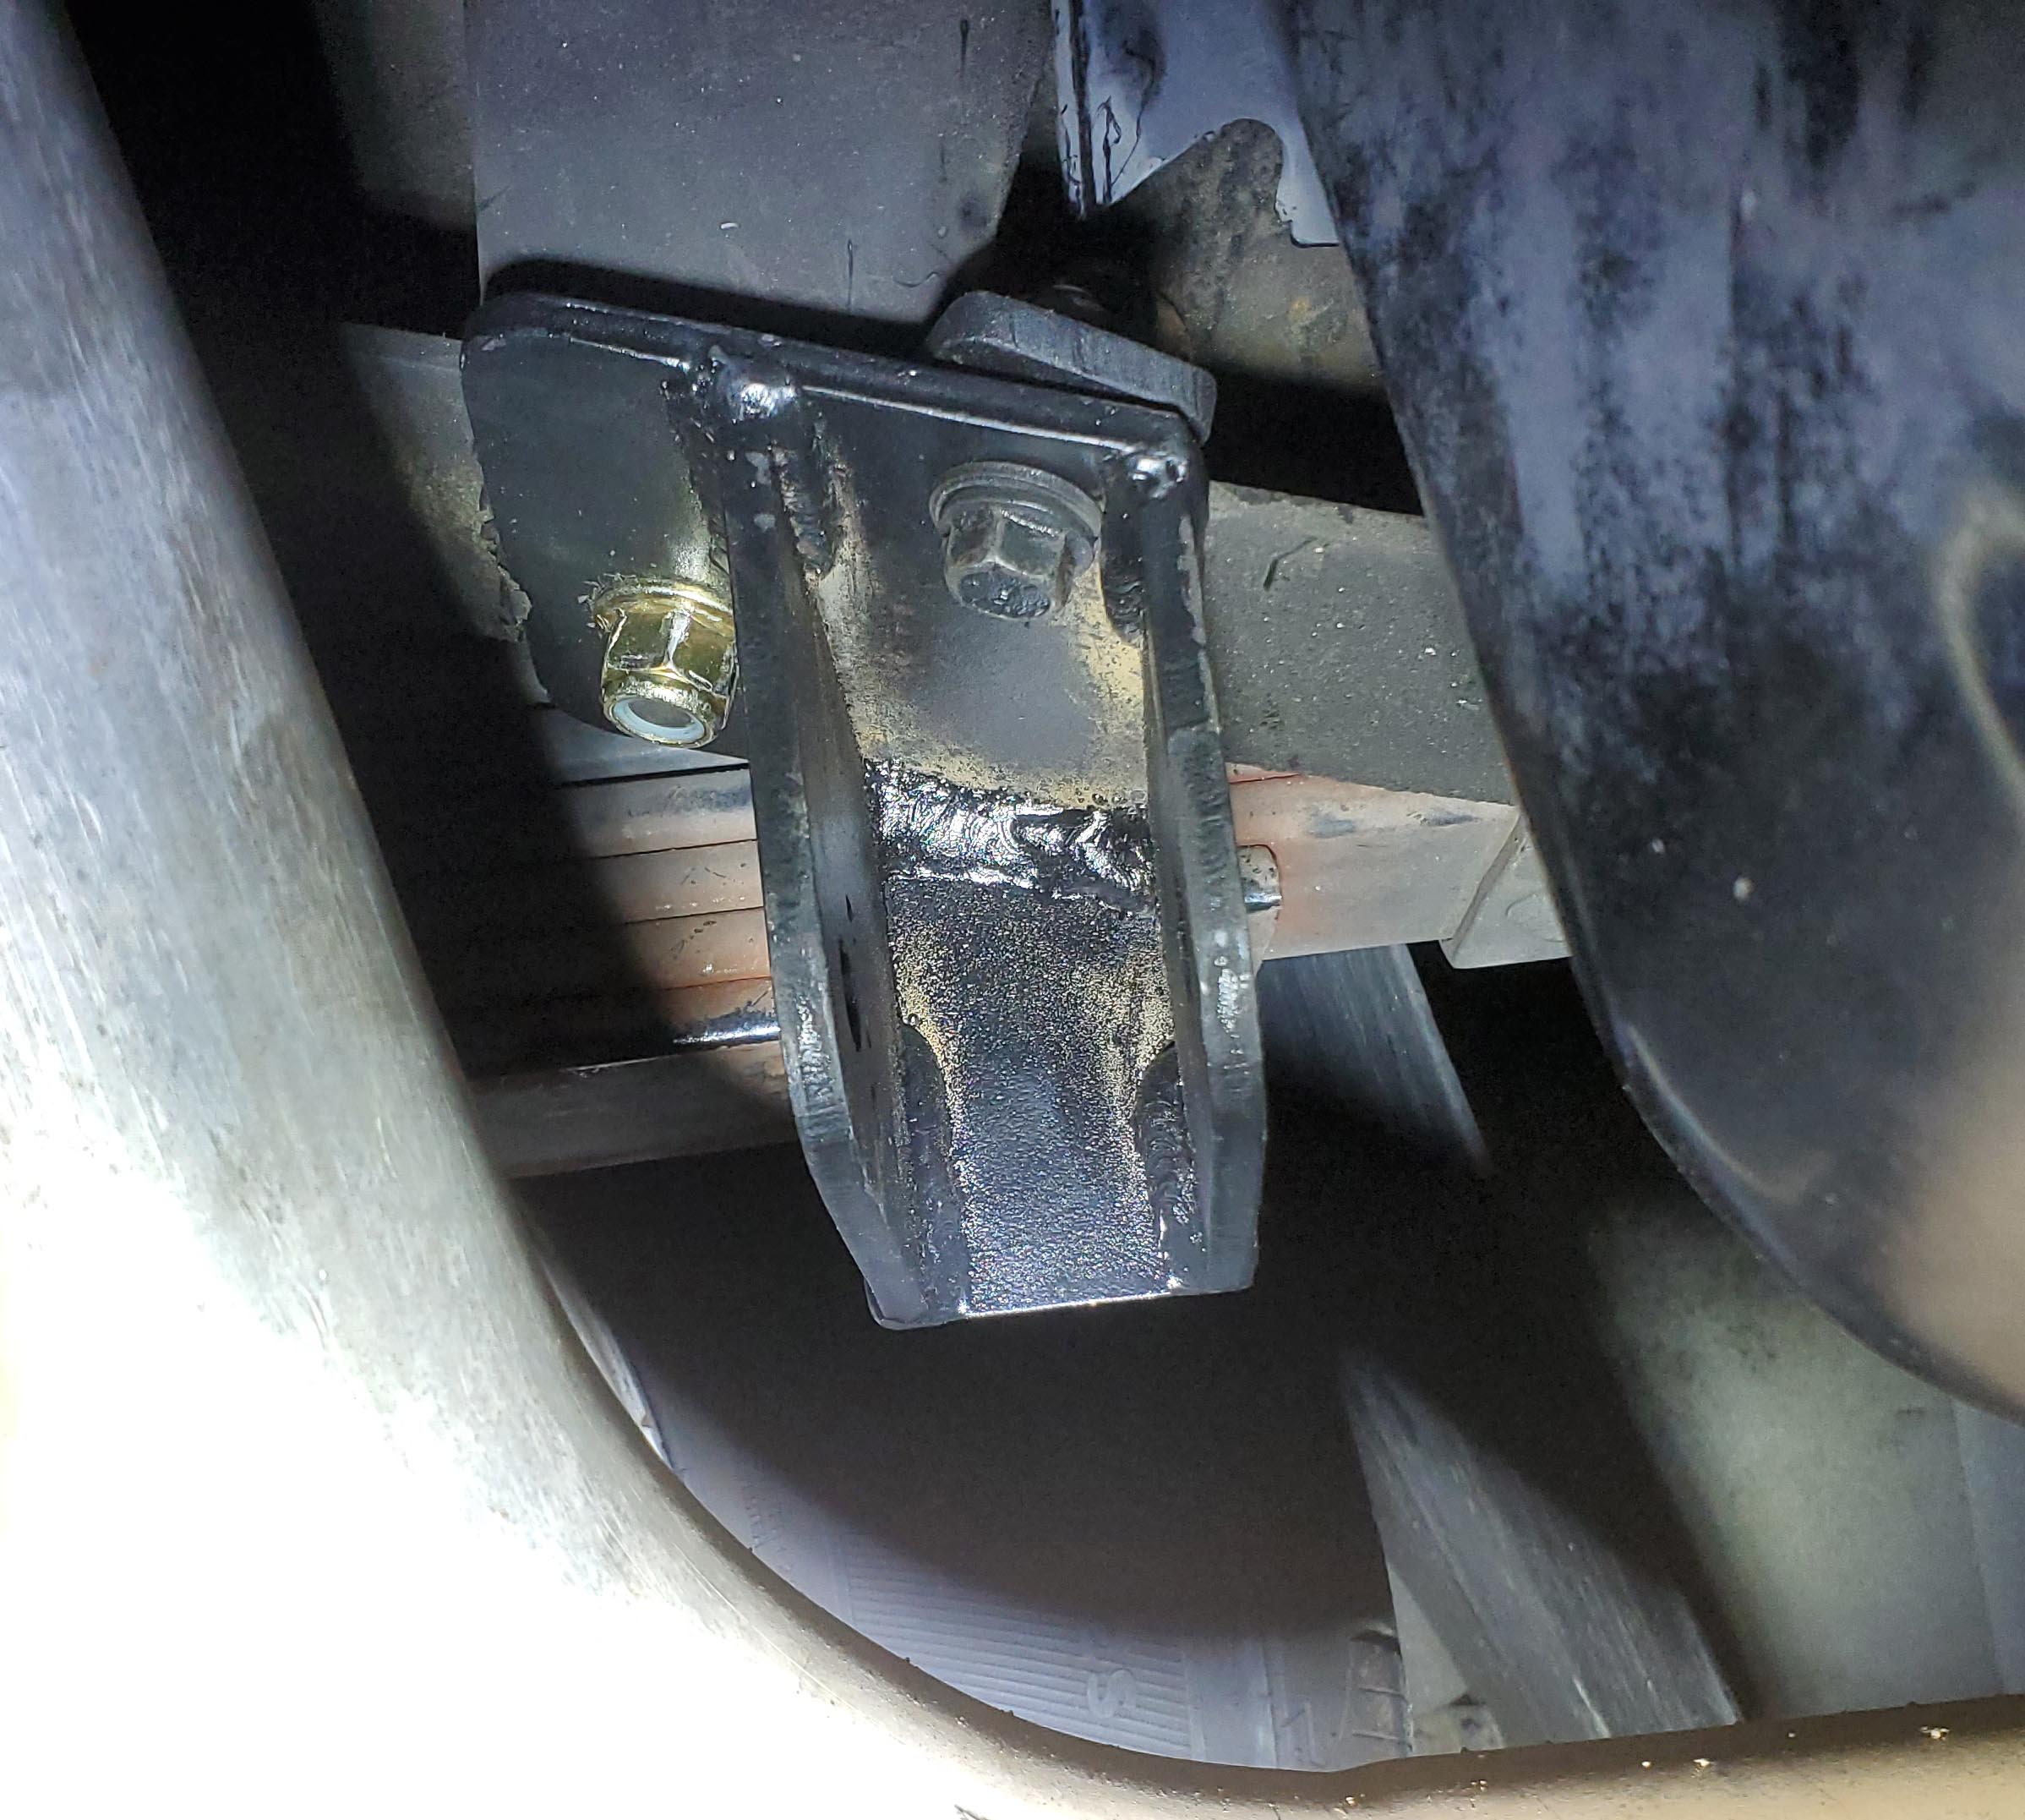
I used an angle grinder and removed the rivet on the passnger side cross member between the axle and the gas tank. I drilled out the rivet hole for a 1/2" bolt. I used a 1-1/2" long 1/2 bolt through the rivet hole in the frame to mount the frame mount. I used a third bolt and plate to clamp the inner edge of the mount onto the inside edge of the frame to give it that extra bit of rigidity.
Making the track panhard bar.
I purchased a 5/8" x 8" double ended stud with left-hand threads on one end and right-hand threads on the other. I also purchased (1) left-hand thread coupling nut and regular nut, as well as (2)each of their right-hand thread counter parts.
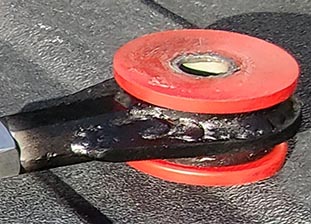
I welded a 29" long piece of 1" OD 0.22" wall tubing to the side of a 1" wide piece of 1.75" OD 0.125" wall pipe. For the other end I welded the Right-hand threaded coupling nut to another 1" wide piece of 1.75" OD 1/8" wall pipe. I installed (2) 1.5" x 0.75" polyurethane spring shackle bushings in each of 1.75" OD pipe. I then pressed in the spring shackle bushing inner tube cut to 1-1/2" in length.
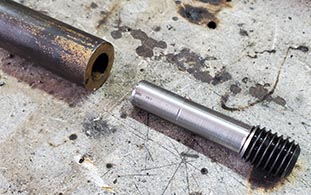
I made a pin on the lathe to place inside the other end of the 29" tubing and thread into the back of the unused portion of the left-hand threaded coupling nut. That way if this weld breaks, the bar will not drop down, hit the pavement, and potentually bounce back and hit the gas tank.
I drilled out the second right-hand coupling but to 5/8", and welded it to the center of the 5/8" x 8" left-hand right-hand stud so I could turn it to adjust the length of the track panhard bar.
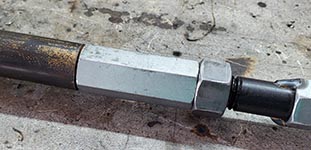
I test fit the pin into the tubing and the coupling nut. I turned the end of the tubing down and one end of the coupling nut, to a 45 degree angle to get a good weld.
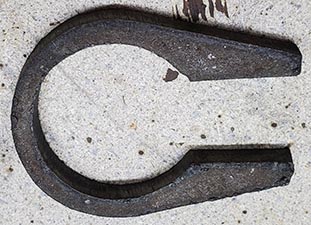
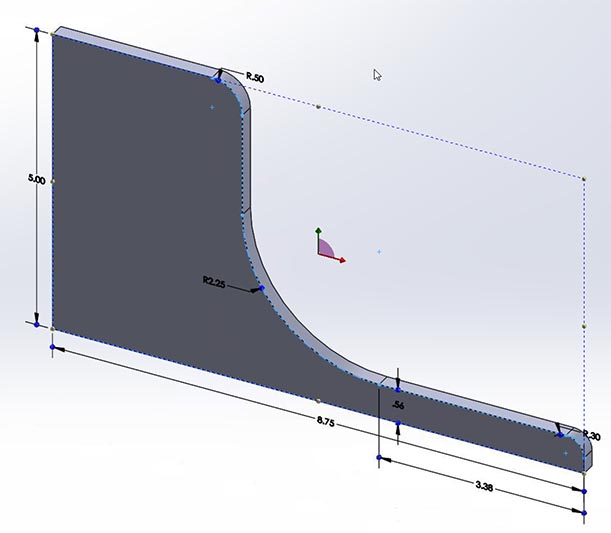
I drew a keyhole shaped reinforcement piece to go around the 1" x 1.75" pipe ends and cut two out of 1/4" plate steel on the CNC plasma cutter.
I welded the keyhole shaped reinforcement piece around the 1" x 1.75" pipe ends and on to the sides of the tubing and the sides of the coupling nut so there was no chance of either end of the bar pulling off.
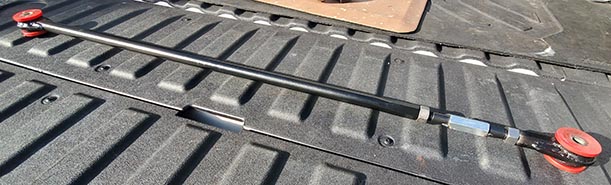
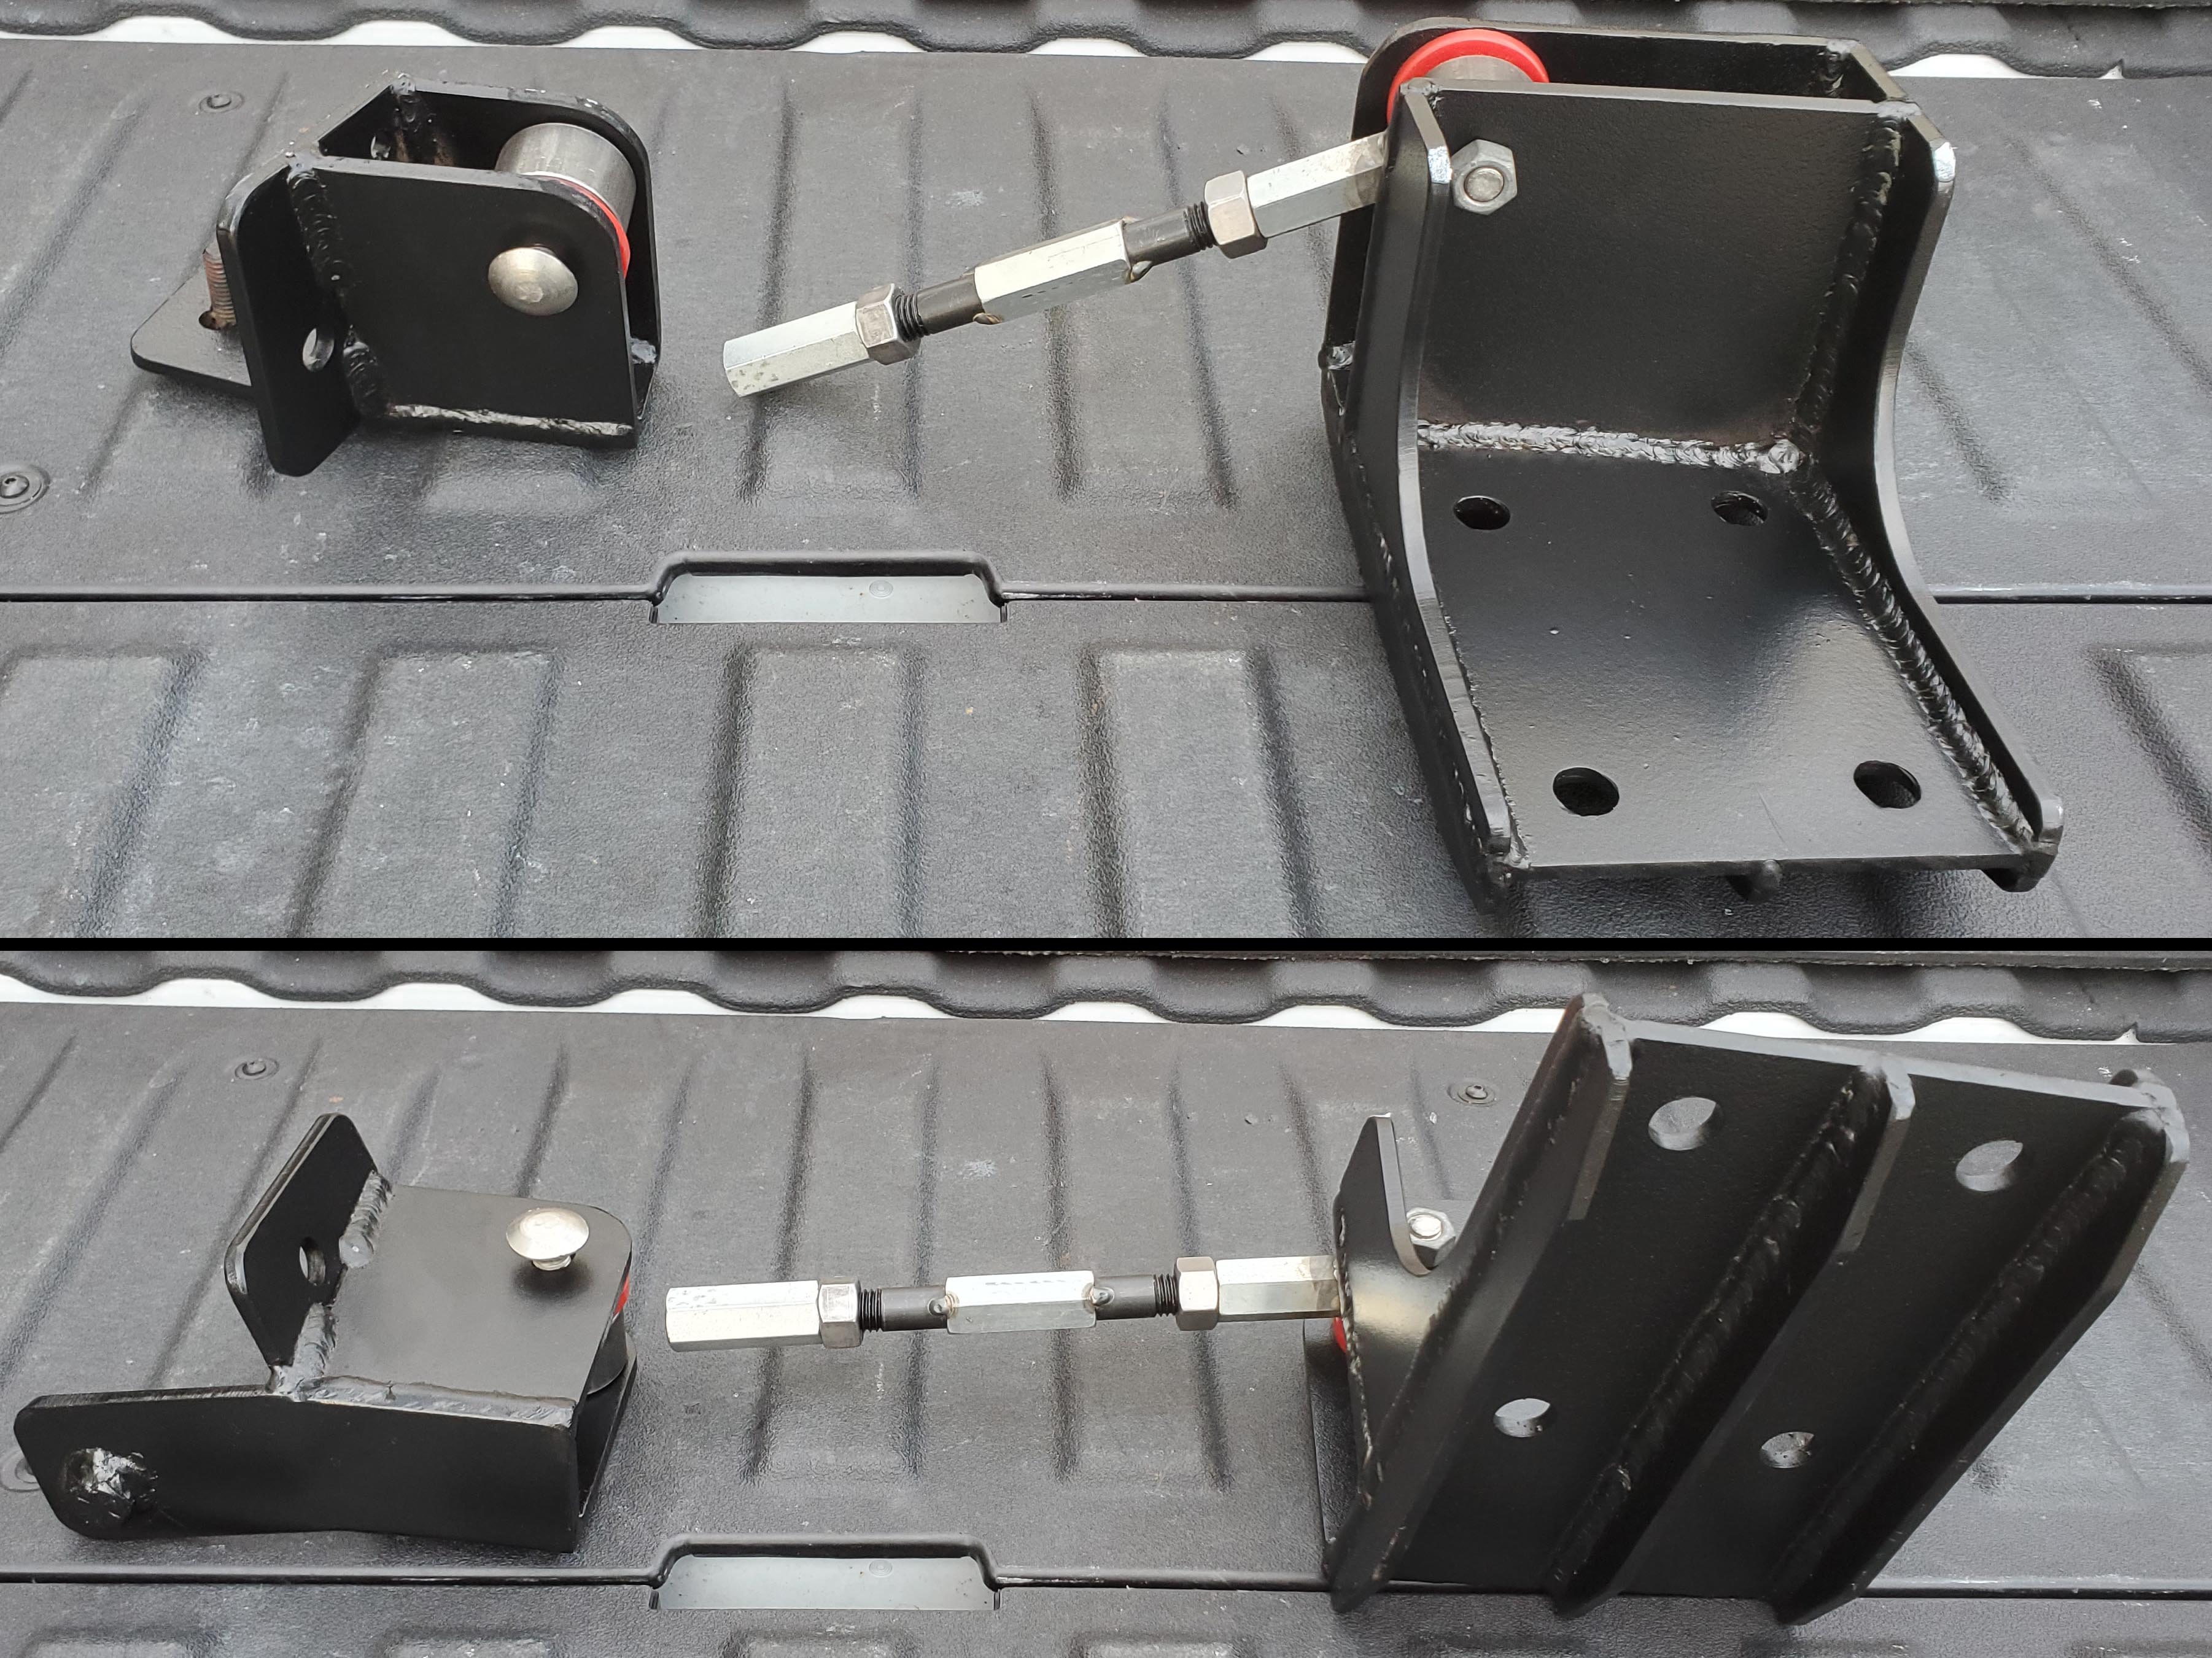
The completed 41" eye to eye track panhard bar.
Installed track panhard bar.
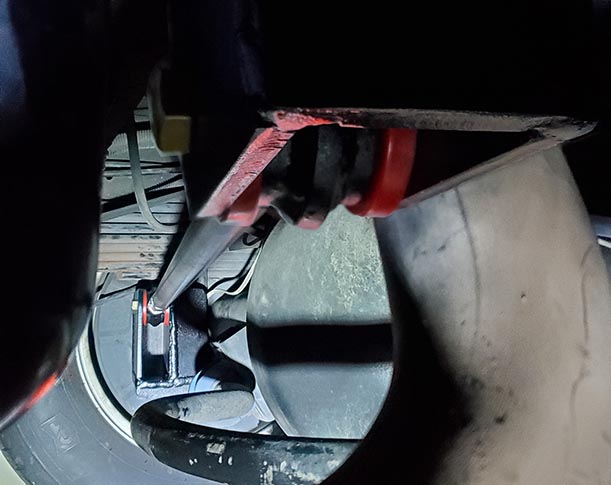
Well, the old heavy Chevy handles like a high center of gravity Porsche. No more give/delay(understeer leading into oversteer once the spring hit the frame) when going into a turn. Feels like it's on a rail. In wind gusts, you no longer have to yank the steering wheel 45 degrees and then back to center to keep it in the lane. It still requires correction, but just a little movement of the steering wheel. Nothing like it was before. It is so different that it took about 45 minutes of driving in wind to get used to. No more watching for trucks coming up on you to be prepared to correct for getting pulled in, then blown out. It was a lot of work to make, but worth every bit of time a effort.
It should fit any Chevy 3500 cut-a-way motorhome or box truck chassis 2012/2014 or later. It might fit on the Chevy 4500 chassis. Not sure. I don't have one to check.
Final Thought - I love it. I should have made this years ago. My motorhome feels so solid now.